You get up in the morning and go about your daily ritual, you’re about to wash your face, you look in the mirror and you have this huge red dot with a hideous green center. To make it worse, you’ve stayed up all night and you have these sad, dark under-eye circles that make you look like you need a long vacation. What to do?
Here is a step-by-step guide to help you cover that humongous crater, that dark under-eye circles, and achieve a flawless face.
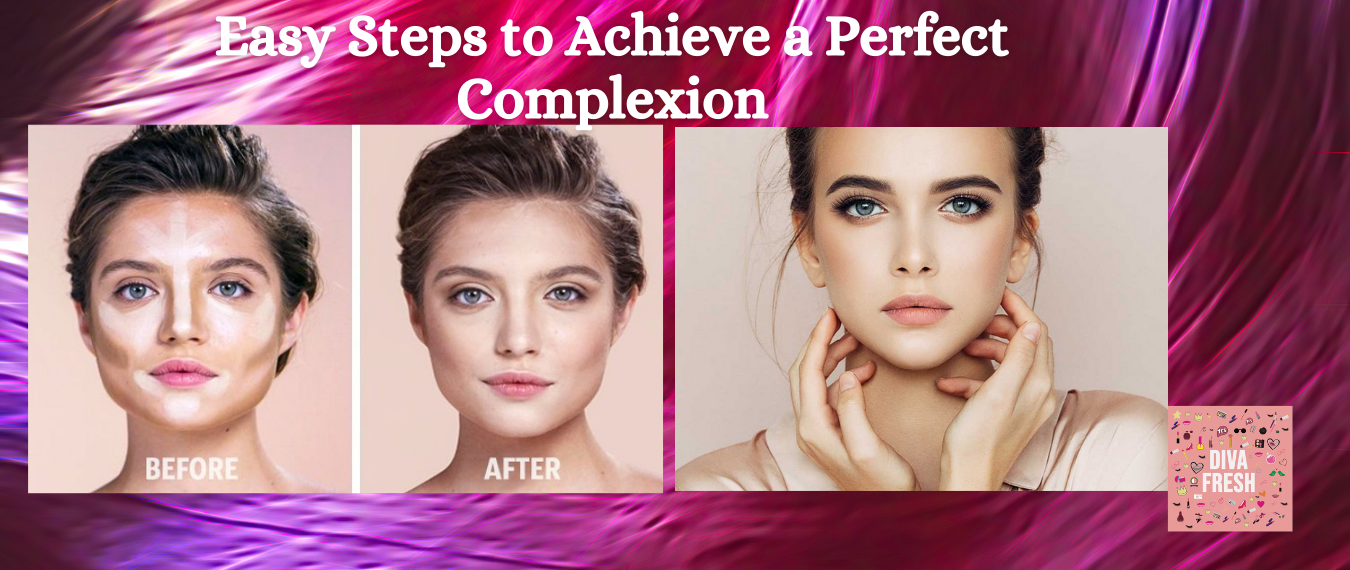
Step 1: Cover your bases
With a flat foundation brush, apply foundation or tinted moisturizer on your entire face. Use a shade that matches your skin tone perfectly or else your zit won’t be the only thing on your face that’s worthy of unwanted attention!
Step 2: Cover your Zit

Using a small concealer brush, apply your concealer directly onto the pimple. If you don’t have a brush, you can use your pinky finger. Apply the most product onto the zit itself, then blend outward until the demarkation line between concealer and foundation is invisible.
- Concealer shade must match your skin tone, it must not be a lighter shade, contrary to common practice. This enables the concealer to blend with the rest of your makeup. A lighter shade does the opposite–it highlights that area, drawing more attention to your little hill.
- Pick a yellow-based concealer to counter the redness.
- Concealers must be heavy and thick to allow for better coverage. Cream-based products offer the most coverage.
Step 3: Cover your Circles

Using a large concealer brush, apply a color corrector to the area just under your eyes. Use sparingly to avoid caking, it’s easier to add on products rather than having to wipe it off and re-apply. If you don’t have a brush, you can use your finger.
As the name suggests, a color corrector is supposed to fix any discoloration problems you are having with your skin. In the case of under-eye circles, purplish-brown darkness appears on most Asians and Hispanics who have yellow or olive undertones, while pinkish-blue darkness appears on most Caucasians and Africans who have pink undertones. A corrector cancels out the purple, blue, or green in under-eye discoloration.
To see where your circles are darkest, tilt your head slightly downwards then look up into the mirror. The shadows cast onto your face will bring out the darkness. Follow this line when covering up. Dab the product by patting up and down with the brush, then blend outward and sideways to eliminate any harsh lines. Use the most product on the darkest area of the circles.
Step 4. Fill inner corners of Eyes
Darkness also finds its place there and applying concealer to this area helps brighten it up to reduce the appearance of the dark circles. Blend, blend, and blend! Repeat the process on the other eye.
Step 5. Ready, Set, Go!
Set your foundation and concealer with powder. A pale yellow powder is best. I prefer it in loose form. Press and roll a velour powder puff onto the skin. Remember to tap off any excess and apply from the chin going upwards onto the rest of the face.
All done! A flawless face in 5 easy steps! Curl your lashes, apply lipstick and you’re ready to go.