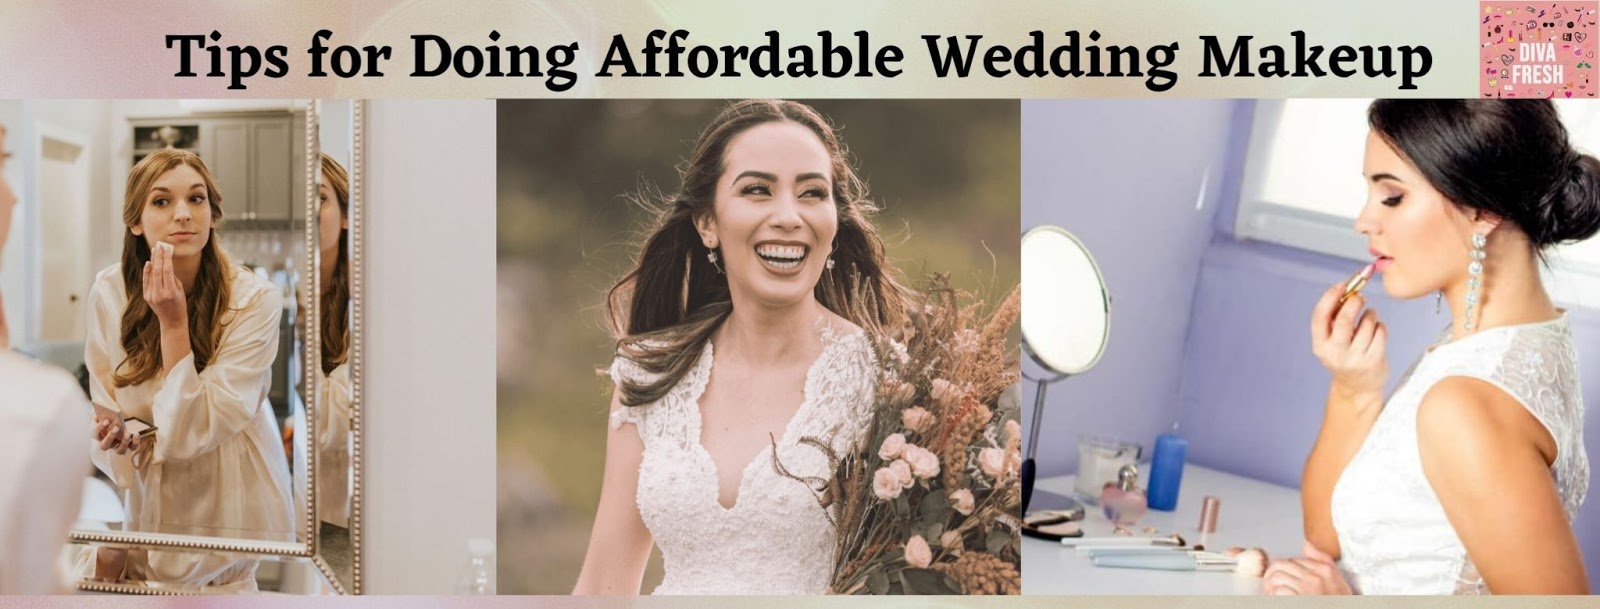
Weddings are so costly, we all realize that. However, they should be! Try not to feel the pressure to spend a huge number of dollars on things you can do yourself free of cost. Makeup is something which you can absolutely do yourself, with a little practice and a couple of key tips. Here are a few tips for doing your own makeup on your wedding day!
1. Perform Multiple Tasks Using Your Setting Spray

In case, you don’t have a primer, yet you do have a setting spray, no concerns… simply utilize the setting spray as a primer. After your moisturizer has completely absorbed into your skin, give your face a good spritz with a setting spray and let it dry slightly. Go in with your first slight layer of the foundation while the setting spray is still a little wet on the face. This will prime your skin and your foundation will stay for a much longer time period.
2. Work in Layers & Let the Concealer Accomplish the Difficult Work
Rather than setting out a thick layer of full coverage foundation, utilize your concealer to do the hard yards. By layering more thin layers of base items you will get a more natural coverage while concealing all you need to, and your makeup will last longer. Whenever you’ve added your setting spray and first thin layer, you can add a second thin layer of your foundation to get the high coverage, however without focusing on blemishes.
Subsequently, take a little brush and pinpoint any redness, scarring, or imperfections with your concealer. Press the edges with your finger to mix until they become invisible. Dust out each concealer application with a small amount of translucent powder to set. Step back, investigate and repeat the process if there are some other parts to be concealed.
By utilizing your foundation as a sheer wash and utilizing the concealer for covering, your skin will be totally flawless in photographs without looking cakey or totally canceled out in real life.
3. Perform Multiple Tasks with Your Lipstick

Utilize your lipstick as a cream blush to compliment your lips and tie the look together. Cream blush is so natural to apply and very simple to tone down if needed. Utilize your fingers to press the lipstick onto the apples of your cheeks (or cheekbones, according to your face shape) and mix until it looks natural. Begin with a thin layer and builds it until you feel satisfied. There is no need to purchase another new blush.
4. Go For a Lived-in Eye Look
No, we don’t mean complete grunge… (except if that coordinates with your wedding theme, obviously), yet a somewhat smudged, hazy look that doesn’t need a lot of accuracies or a professional hand.
Think about a cream shadow in a neutral tone and blend it all over the top. Then, take a more deep shade of beige, bronze, or chocolate and blend it through the wrinkle. Add a chocolate pencil and press it into the lash line and smudged out, thickening slightly at the external corners. The lower lash line is left perfect and clear, with a hint of bronzer smudged near the lashes for a subtle dash of warmth.
This sort of look simply eases the pressure off from drawing a sharp liner wing, cut crease, or some other precise look on a day when you’re already feeling very nervous. Additionally, smudgy, hazy looks make the eyes appear bigger and more deep in photographs.
5. Do a Trial and Take Photographs
Always do a trial of your DIY wedding makeup to sort out the right products and procedures to use on your wedding day. That way, you’ll be completely prepared when the day will come.
Take photographs outside to ensure the shadings, blending strategies, and your complete looks are daylight-friendly. Take some selfies and make a list of all the products you utilized so when you get to the day you have all that all set out to jog your memory.
